Nice, I saw it on the main page, and it looks outstanding! That must have taken ages to work on... But it certainly looks rather impressive, and it is just how I pictured it! Nice work!
A member registered May 05, 2018
Recent community posts
3dSen VR - 3D NES Emulator For Virtual Reality community » Support · Created a new topic USB NES Controller Not Recognized
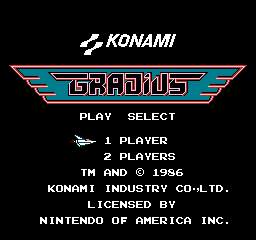
3dSen VR - 3D NES Emulator For Virtual Reality community » 3DN Repository » Work In Progress · Created a new topic Gradius - Defined
Hello all! I decided to start a new project, focused on 3dn-ifying Gradius! Using Dippy0615's 3dn file as a base, along with JJXB's UI code, I am making adjustments to make this similar to the style of my Metroid project. I have decided to name the series 'Defined' after just coming up with the name while I was lying in bed one morning. Anyway, here is an early look at what I have done so far! (Although I only started it a few hours ago, so bear with me.)
![]()
Honestly, the title screen is about how far I have gotten so far, which just had different layers similar to the Metroid one. Here is a comparison to the standard NES, although they are not too different, honestly.
However, when comparing the ship, you may notice that it is layered as well, and when comparing the two, it doesn't look too different from head on...


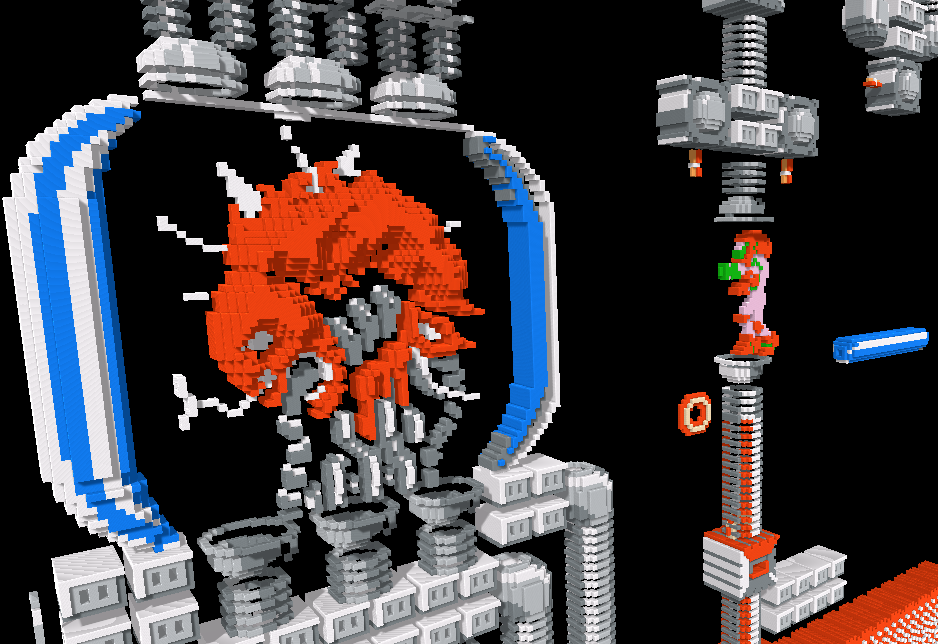
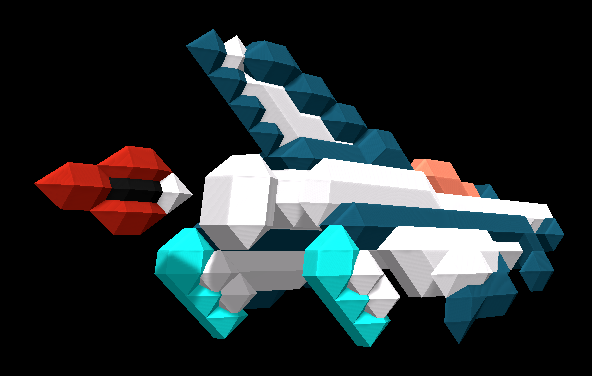
See? Not that different at all! However, when looked at from a different angle is where my real work shows, I believe!
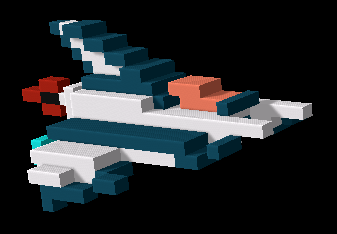
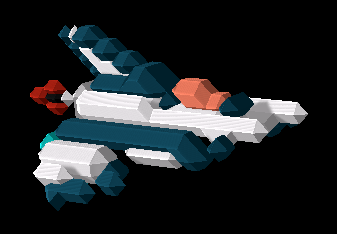
As you can see here, I have not just added different layers, I have actually used the layering system to make an entire 3D model of the Vic Viper. (With standard and retina variants as a comparison.) This is what I have put most of my time into, and plan to do this with most entities in the game.
The ship itself is based on Gradius' box art, and other concept art of the ship itself. 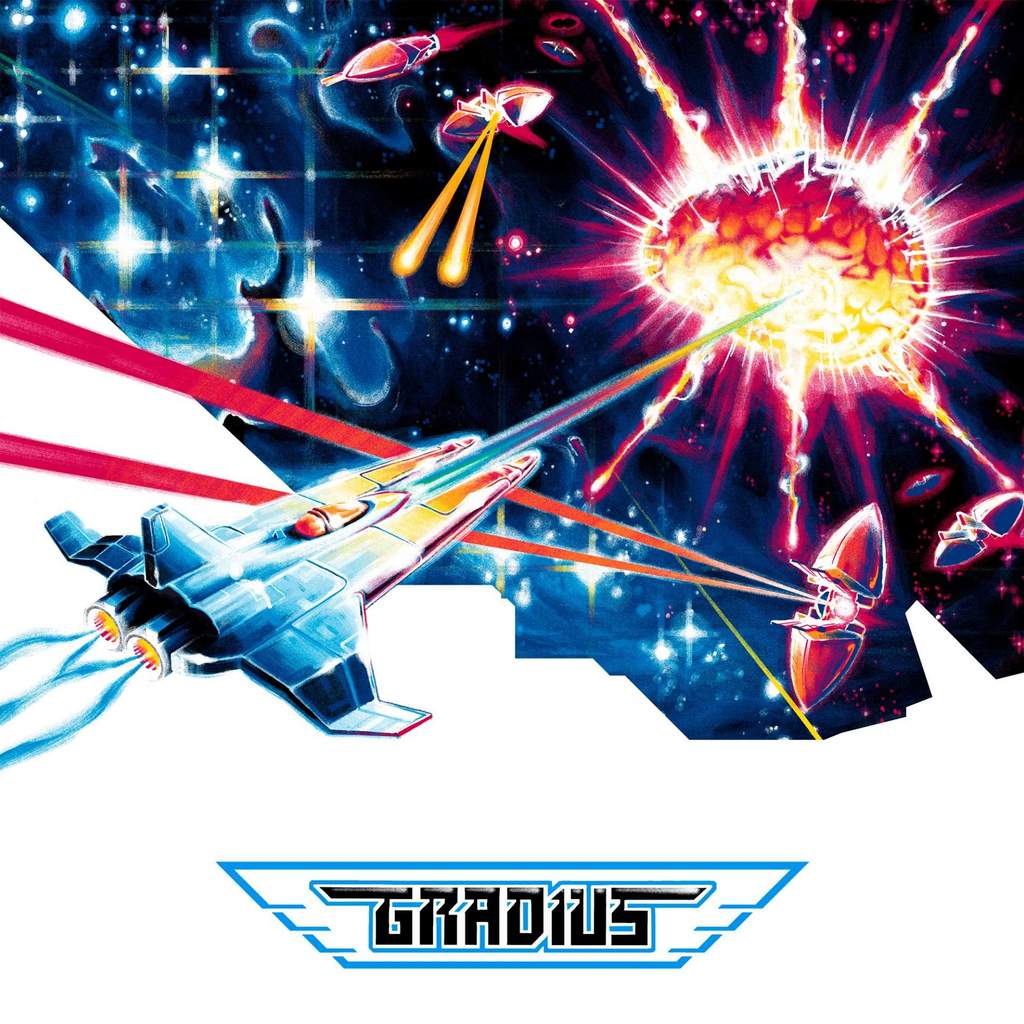
Here is some of the art I used as a reference, although I gave it some personal touches as well. I'm rather happy with the results, although this does mean that this could take some time... Now I have to go work on the other Sprites for the ship. Let me know what you think of it, and let me know if you think any improvements could be made! I'm looking forward to seeing what the final product will look like-
3dSen VR - 3D NES Emulator For Virtual Reality community » Support · Created a new topic Gradius - Linked Konami Sprites Issue (Solved)
Hey all! Came upon a rather strange issue... I'm wishing to edit the Gradius 3dn file, in a similar vein to my Metroid project, but while cleaning up some of the sprites, I noticed a linking issue with the Konami Logo. While trimming the black outline on the 'mi' section, I noticed that any changes would effect the 'ko' at the start, usually tearing through the sprite. I'm guessing this is due to one being a kind of inverted sprite, but in its current state I can't adjust it without issues occurring. I have attempted cloning, but this does not work either, since the black outline will still be present when overlaid. Is this something that could perhaps be solved with coding? It's a minor issue, but it's driving me crazy.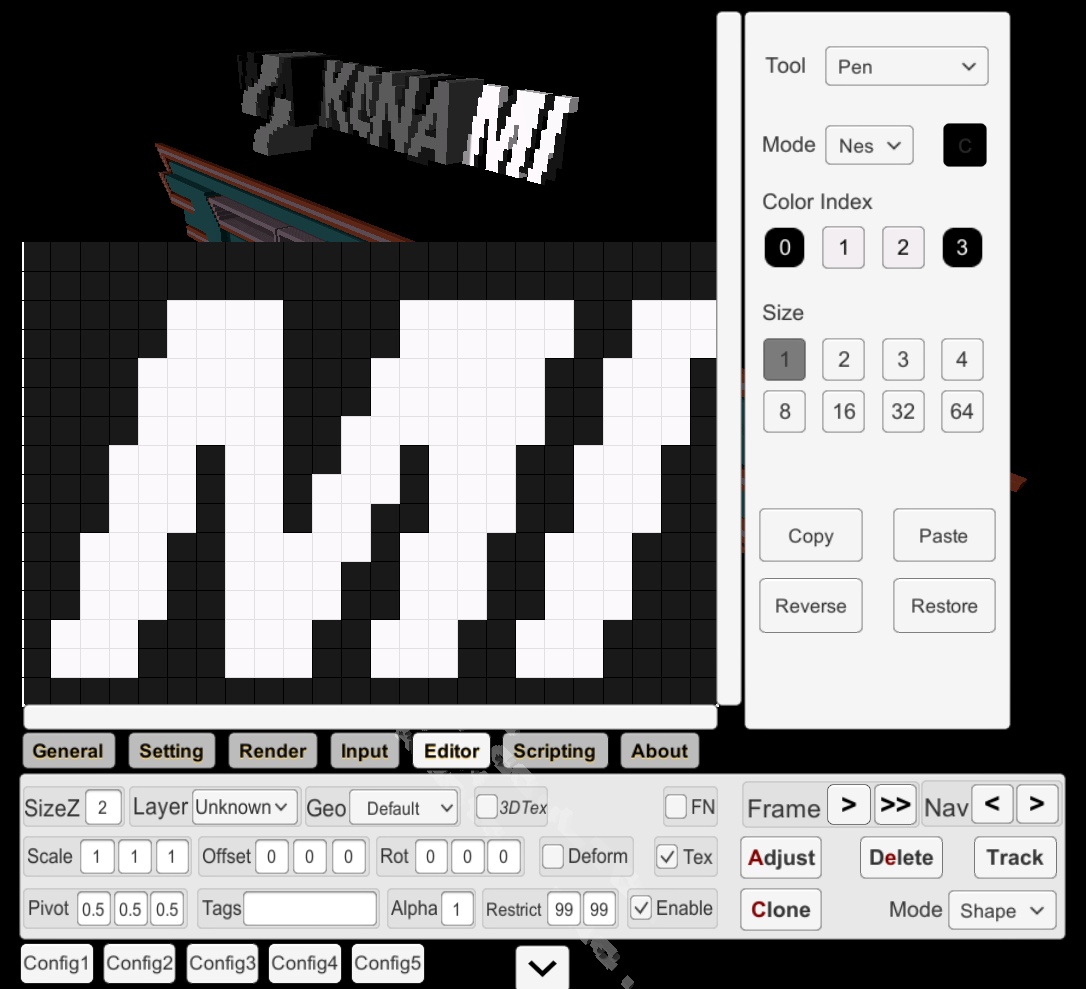 Here is the default appearance of it in the editor, when I am attempting to make adjustments.
 However, after these adjustments, this tearing occurs in the 'ko' section, which appear to be linked. I also noticed that the color index changes slightly, which makes me wonder if this is part of the issue. (As a side-note, this issue occurs even when merging the two into one sprite, or actually, they refuse to merge at all.)
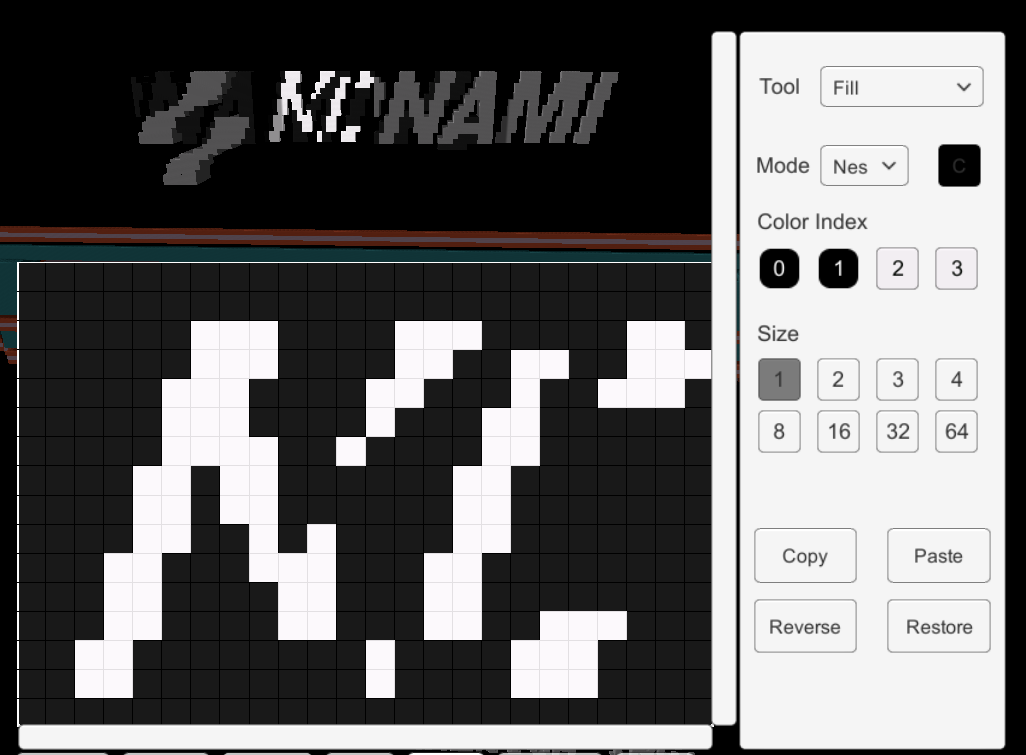
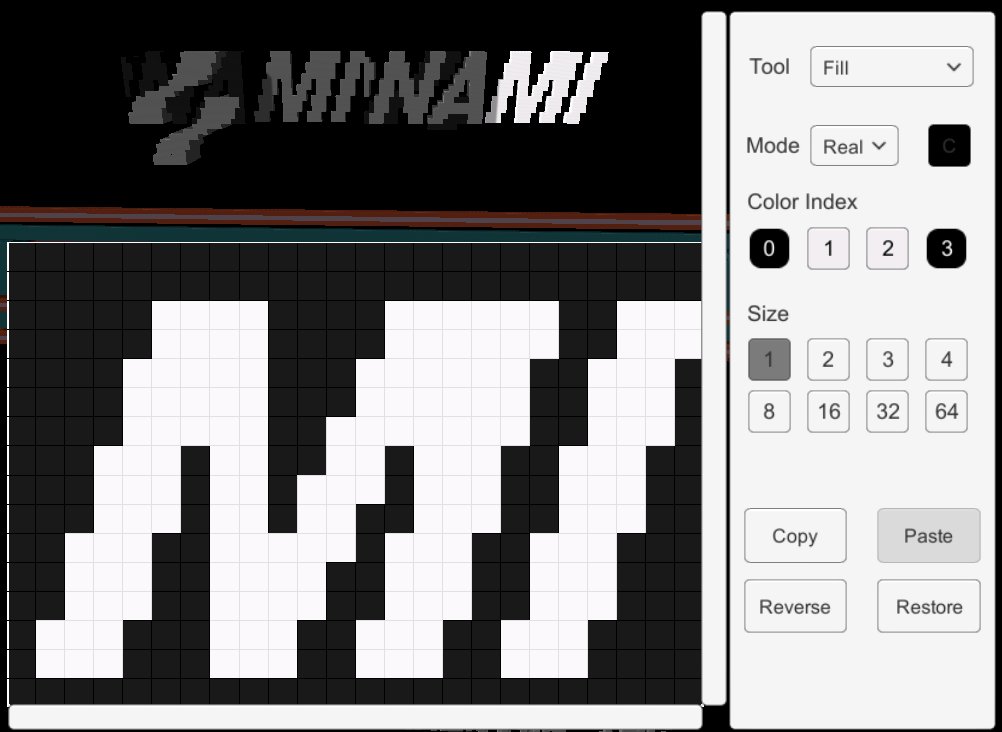 When I set the mode to real as well, they seem to both turn into the same sprite, creating 'minami' as it were. Is there a way to fix this with coding? I'm not exactly an expert with coding, so any help would be appreciated!
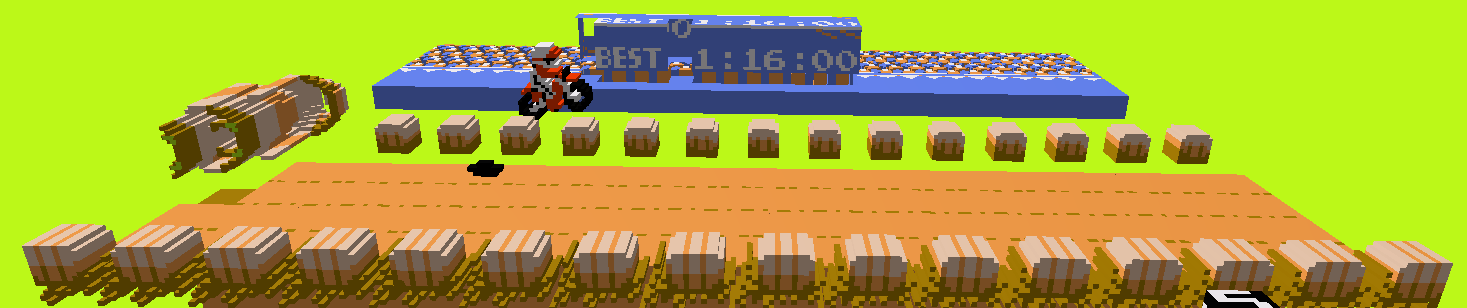
3dSen VR - 3D NES Emulator For Virtual Reality community » 3DN Repository » Work In Progress · Replied to geod in Excitebike (Completed by Geod)
Ah, I see! That might work as intended... While wouldn't work while going up ramps, that would just be something rather minor, I believe... (Or you could also try linking that to specific instances of the bike's motion, seeing as when going up a ramp, it needs to switch over to different sprites... Implementing this would be the difficult part though. 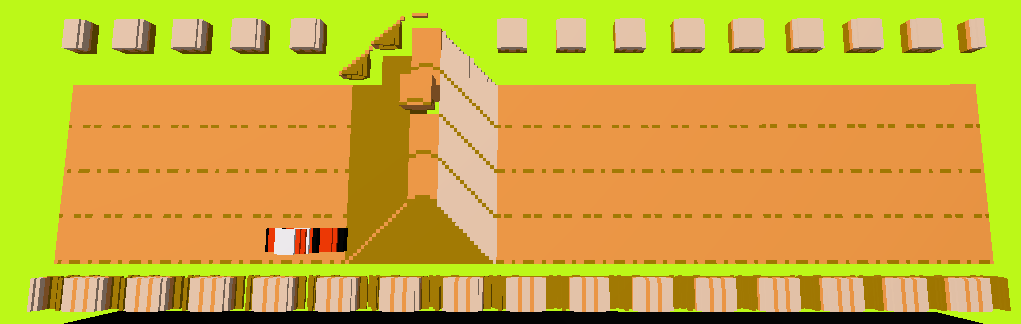

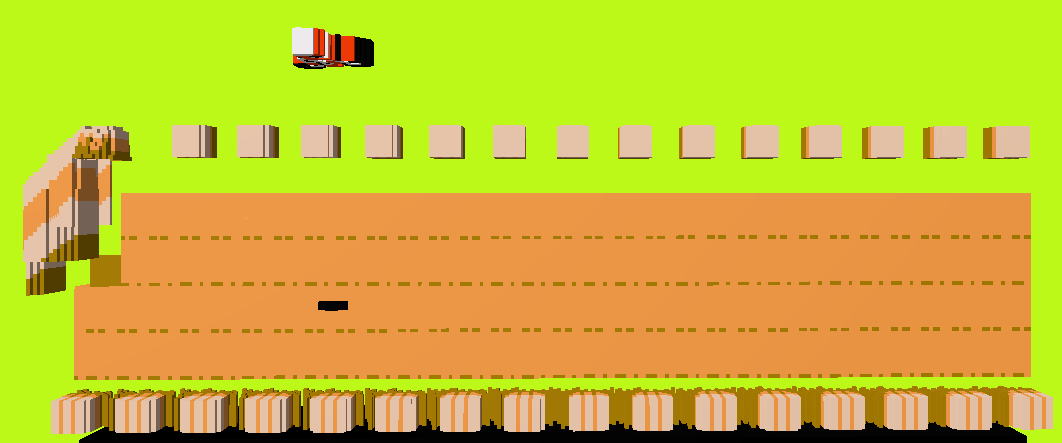
Here are a few images in two instances, where they go up a hill and change a sprite while also moving along y. The second one shows the shadow sprite, and how it moves sideways along the sprite. Will that script help solve this? And if so, how will I implement it...? (I wish I had more experience with scripting, but stuff tends to blow up in my face when I attempt it...)
3dSen VR - 3D NES Emulator For Virtual Reality community » 3DN Repository » Work In Progress · Created a new topic Excitebike (Completed by Geod)
Hello all! Just thought I post a little bit of a sneak peak into what I am working on, and might ask for some help or advise in the process! (Seeing as I am a little new to this tool)
Here is a screenshot of the original version, and my version. (That is again, a heavy work in progress, almost nothing is done at this point in time, but it should show the perspective I am going for.
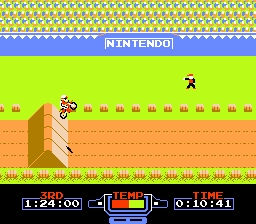
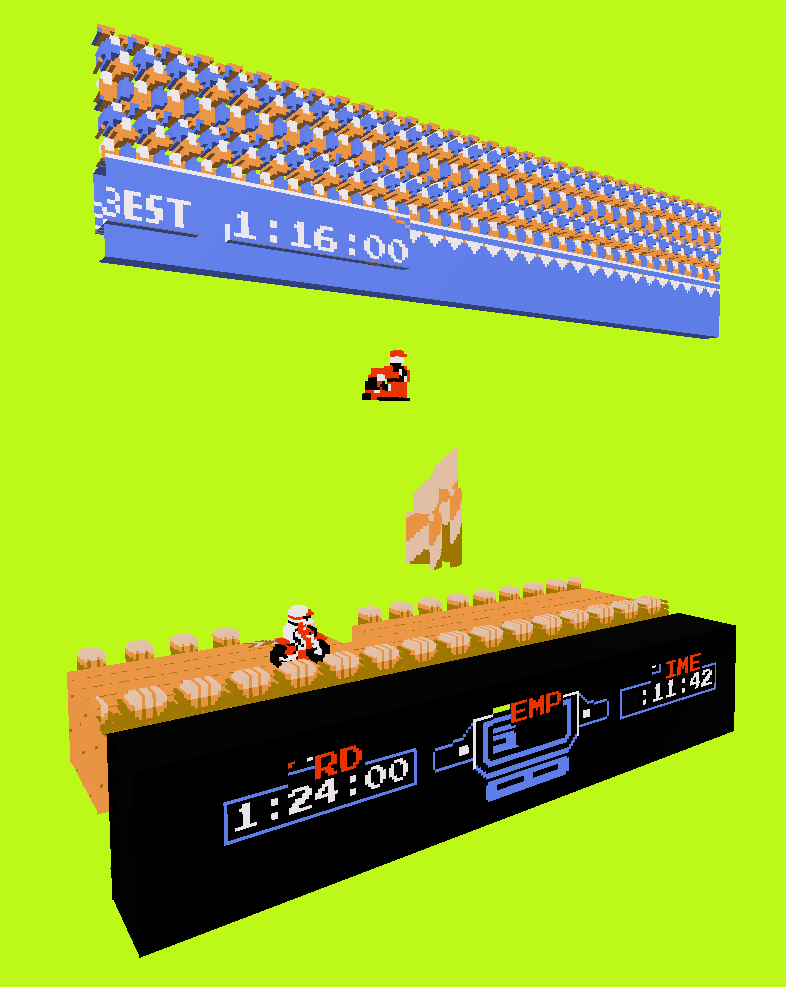
While this doesn't show too much, you can probably see that I am attempting to turn this into a flat track, and convert everything to actual 3d, instead of what the pseudo-3d entails. This however, has a few major problems. While the original moves the characters up and down to create an 'illusion' of changing tracks, if I move him to the location shown above, and decide to go left or right, he will still go up and down, and float in the air. My question is, can this be changed, through scripting, or something of the like? Or am I just out of luck?
My other question is that excitebike uses objects in odd ways sometimes, at least, when trying to convert them to 3d, so, I was wondering if there was a way to disable the 'rippling effect' that repeating objects gain, so that a change to one of the objects will not necessarily effect another one. It sounds a bit complicated, and it might be able to be done with some careful cloning on my end... maybe. Let me know in the replies! I'm not sure if the thing I am working on is even feasible...
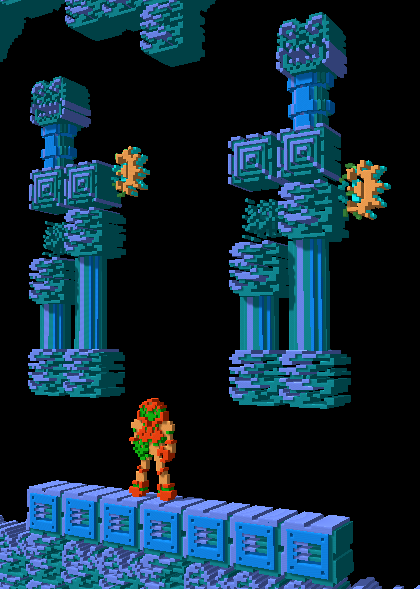
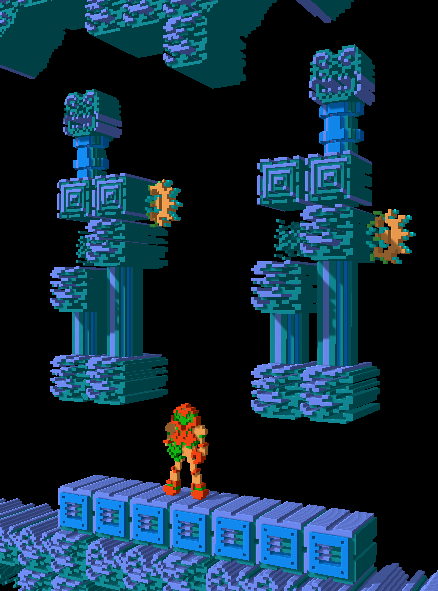
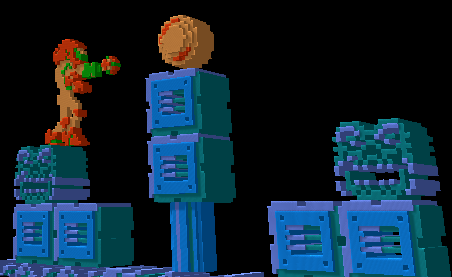
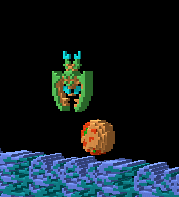
3dSen VR - 3D NES Emulator For Virtual Reality community » 3DN Repository · Created a new topic Metroid (Metroid Plus Compatible!) Ver. 1.0.2 + 1.2.0
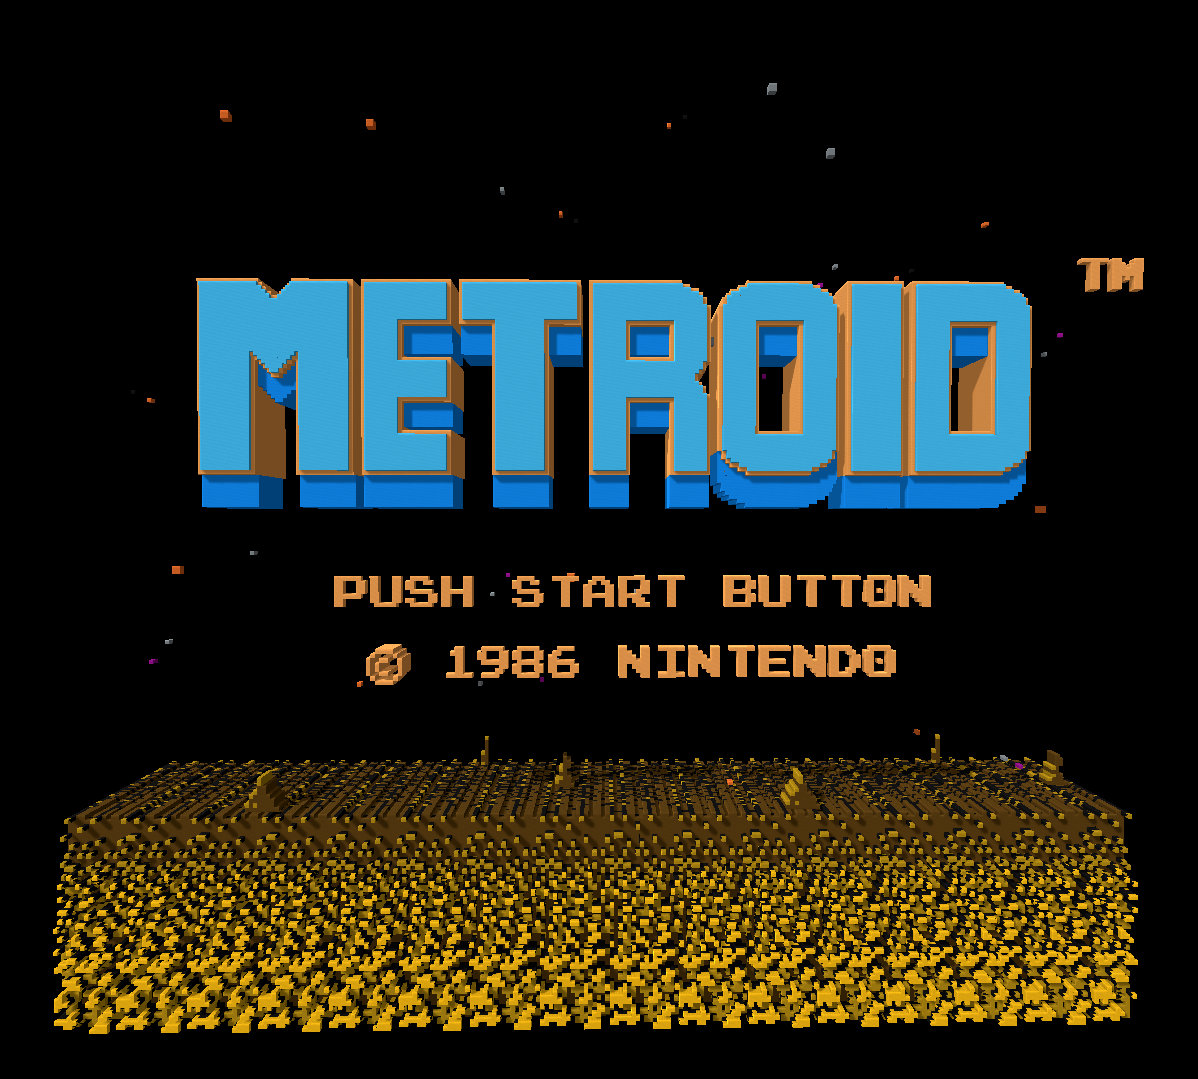
Hello, and welcome to my first 3dn file upload! This is the 3dn-ified version of Metroid, which is also compatible with the mod Metroid Plus!
(Video consists of Version 1.3.0 ~ G, video and version by Geod.)
(Screenshots consist of the 1.0.0 version)
 1.0.0
1.0.0
 1.2.0
1.2.0
 1.3.0 ~ G
Patchnotes:
1.0.0 - Released
1.0.1 - Fixes some parts of Brinstar's floor only having one layer.
1.0.2 - Fixes column with Morph Ball being blocked by new textures, increased pipe block size from 7 to 12.
-----
1.2.0 - Released - Doubles the size of most standard blocks, adding some more depth.
-----
1.3.0 ~ G - Released by Geod - Configures graphics to the Vector variety, and further increases some sizes of blocks. (Making them pop out more for VR users.) Switches some blocks to the 'cube' typing, showing all layers on multiple sides.

(Metroid Plus by Snarfblam included in the file, but it is not necessary to use the 3dn file! For a more classic Metroid experience, just use it without Plus!)
Metroid Plus includes:
- A Map System
- Save Slots
- Ice and Wave Beam Combination
(However, this overrides the password system!)
The models in this use the texture editor to create clones, which are edited with different values, and stacked on top of each other, giving all the models more depth, while also looking less glitchy overall! (However, this means it takes longer to make.)
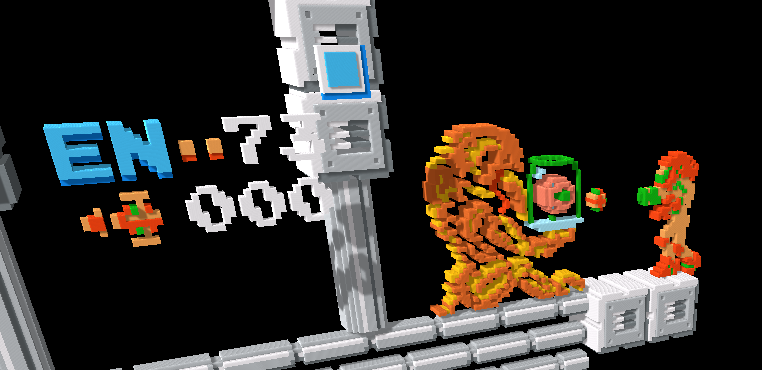
Let me know what you think of it, along with any possible issues, and things I might have missed! If changes are needed, I will update the file.